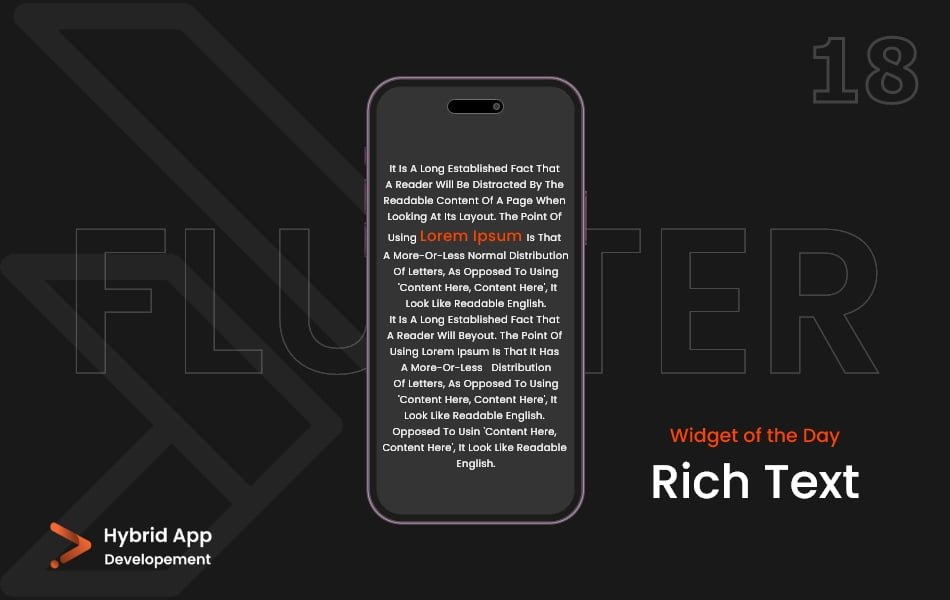
Introduction of Rich Text Widget
In Flutter, Rich Text Widget is typically achieved using the TextStyle class, which is applied to the Text widget to control various aspects of the text’s appearance. The TextStyle class in Flutter is used to define the visual style of a text. It provides properties that control the font, color, decoration, and spacing of the text.
Here’s a breakdown of the key properties of TextStyle and how they can be used to style text:
text Property: The primary property that takes a TextSpan as its argument. This allows you to define the various spans of text with different styles within a single RichText widget.
RichText(
  text: TextSpan(
    text: 'Hello ',
    style: DefaultTextStyle.of(context).style,
    children: <TextSpan>[
      TextSpan(text: 'world', style: TextStyle(fontWeight: FontWeight.bold)),
      TextSpan(text: '!'),
    ],
  ),
),
textAlign Property: Sets the horizontal alignment of the text within the RichText widget.
RichText(
  textAlign: TextAlign.center,
  text: TextSpan(
    // ...
  ),
),
textDirection Property: Defines the reading direction of the text.
RichText(
  textDirection: TextDirection.rtl,
  text: TextSpan(
    // ...
  ),
),
softWrap Property: Determines whether the text should break at soft line breaks.
RichText(
  softWrap: true,
  text: TextSpan(
    // ...
  ),
),
overflow Property: Specifies how visual overflow should be handled.
RichText(
  overflow: TextOverflow.ellipsis,
  text: TextSpan(
    // ...
  ),
),
maxLines Property: Sets the maximum number of lines to display before truncating.
RichText(
  maxLines: 2,
  text: TextSpan(
    // ...
  ),
),
text Property: The text content of the span.
TextSpan(
  text: 'Hello world',
  style: TextStyle(fontSize: 16.0),
),
style Property: The style applied to the text span.
TextSpan(
  text: 'Bold Text',
  style: TextStyle(fontWeight: FontWeight.bold),
),
children Property: A list of additional TextSpan objects to be displayed as children of the current span.
TextSpan(
  text: 'Mixed Styles',
  style: TextStyle(fontSize: 16.0),
  children: <TextSpan>[
    TextSpan(text: 'Bold', style: TextStyle(fontWeight: FontWeight.bold)),
    TextSpan(text: 'Italic', style: TextStyle(fontStyle: FontStyle.italic)),
  ],
),
Usage:
RichText(
  text: TextSpan(
    text: 'Hello ',
    style: DefaultTextStyle.of(context).style,
    children: <TextSpan>[
      TextSpan(
        text: 'world',
        style: TextStyle(fontWeight: FontWeight.bold, color: Colors.blue),
      ),
      TextSpan(text: '!'),
    ],
  ),
),
Final Code: This is the final code with some of the above Rich Text Widget properties.
import 'package:flutter/material.dart';

class HomePage extends StatefulWidget {
  const HomePage({super.key});

  @override
  State<HomePage> createState() => _HomePageState();
}

class _HomePageState extends State<HomePage> {
  @override
  Widget build(BuildContext context) {
    return Scaffold(
      body: Column(
        children: [
          //instagram post
          Container(
            height: 350,
            color: Colors.grey[300],
          ),
          Padding(
            padding: const EdgeInsets.all(8.0),
            child: RichText(
              text: TextSpan(
                style: TextStyle(fontSize: 20),
                children: const [
                  TextSpan(
                    text: 'Hybrid App Development',
                    style: TextStyle(fontWeight: FontWeight.bold),
                  ),
                  TextSpan(
                    text:
                        ' Our Flutter Crash Course is your ticket to mastering this awesome technology & creating top-notch cross-platform mobile apps.',
                    style: TextStyle(color: Colors.grey),
                  ),
                ],
              ),
            ),
          ),
        ],
      ),
    );
  }
}
In this example, the Rich Text widget displays the text “Hello world!” where the word “world” is styled differently (bold and blue) from the rest of the text. This showcases how you can use Rich Text Widget and TextSpan to create text with various styles within a single widget. Adjust the properties according to your styling needs.
Thank for visiting Hybrid App Development
Posted by Hussam HM


